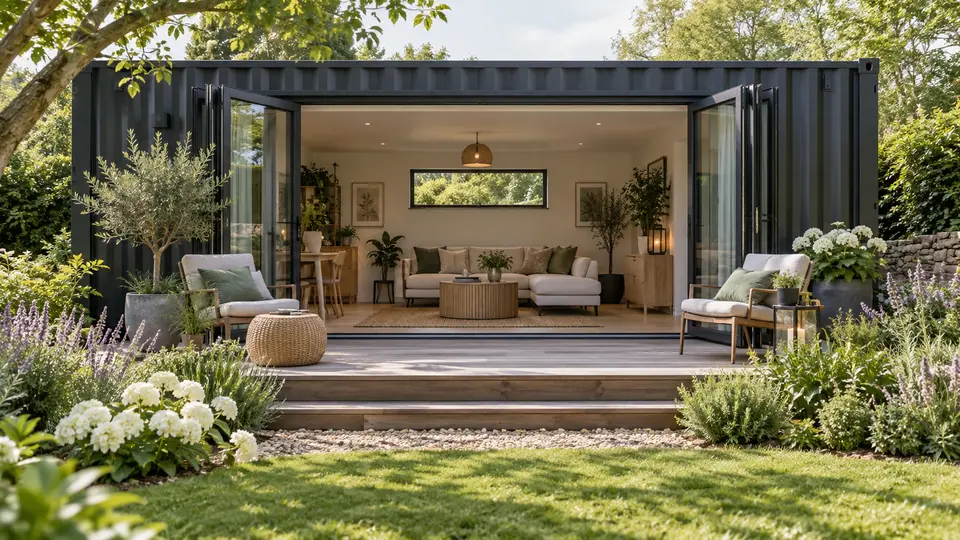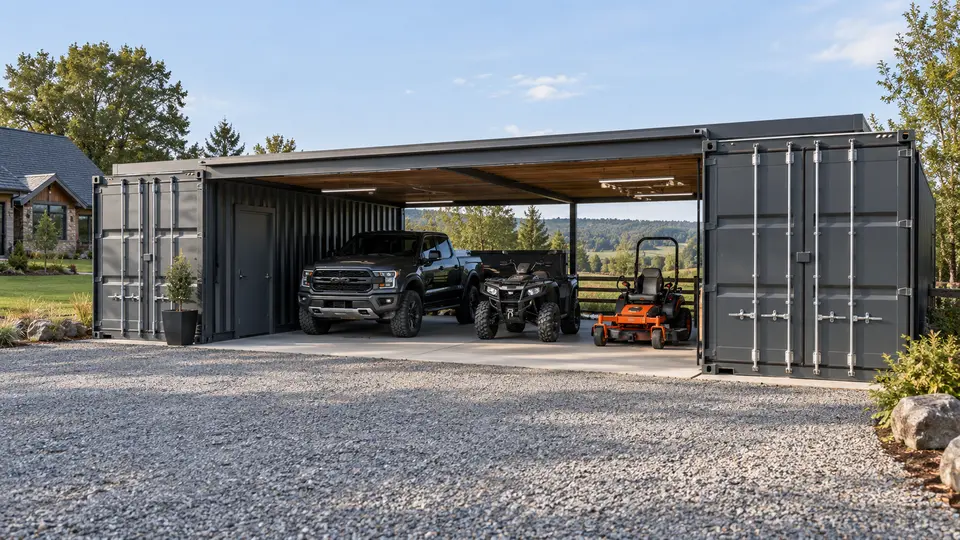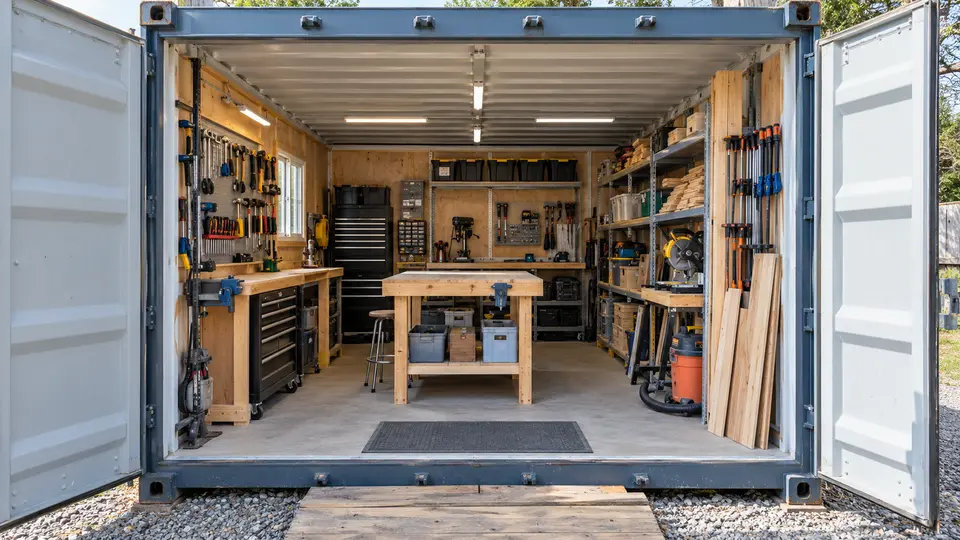
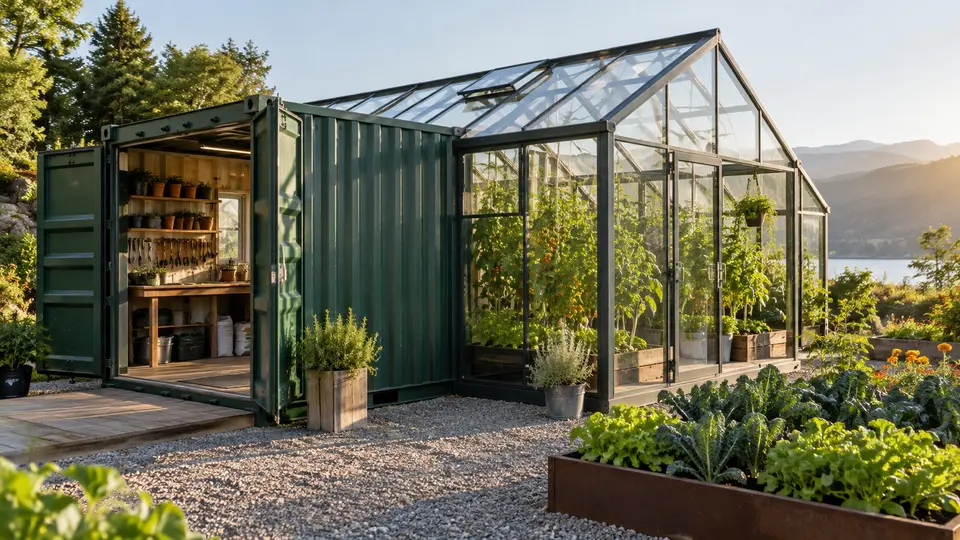
A shipping container greenhouse usually works best as a hybrid rather than as a steel box filled with plants. The container can provide secure space for tools, water systems, supplies or climate-control equipment, while an attached glazed structure supplies the sunlight plants need.
This arrangement can organize a growing operation, but the connection between the two structures deserves careful design. Heat, humidity, drainage and structural loads must be managed rather than assumed.
Give Each Part the Right Job
Use the container for functions that benefit from security and opaque walls: potting benches, seed storage, irrigation controls, cool-season supplies or equipment. Reserve the transparent enclosure for plant production and circulation.
An interior grow room is possible with artificial lighting, but it becomes an energy and mechanical-systems project. Lighting loads, cooling, humidity and electrical safety should be professionally planned.
Orient for Light and Climate
Greenhouse orientation depends on latitude, season and crop goals. Study solar exposure and nearby shade before deciding which side of the container should support the growing structure.
The steel wall can absorb and reradiate heat. Insulation, reflective finishes, shade controls and ventilation may be needed to keep temperatures within a useful range.
Control Water and Humidity
Irrigation, floor drainage and condensation must move water away from stored supplies and the container structure. Details at the greenhouse connection should prevent trapped moisture and leaks.
Plan hose access, backflow protection, electrical protection and equipment maintenance with qualified trades. Agricultural or commercial uses may trigger additional local requirements.
Questions to Answer Before You Start
- Which crops and seasons will the space support?
- What belongs in secure storage versus the growing area?
- How will excess heat and humidity be removed?
- Where will irrigation water drain?
- What permits or agricultural rules apply?
Turn the Concept Into a Site-Specific Plan
Move from inspiration to a scaled site plan before ordering a container. Confirm setbacks, utilities, drainage, foundations, delivery access and the permits that apply to the intended use. Openings and attachments should be reviewed by qualified professionals.
Plan the surrounding paths, lighting and outdoor surfaces at the same time as the container. A coordinated design is easier to build and maintain than a series of additions made after placement.
Choose the Container Condition With the End Use in Mind
Container condition depends on visibility and function. A clean One Trip unit may suit a public-facing garden project, while a sound used container can work for utility and storage when cosmetic wear is acceptable. Review the Conex Xpress container condition guide for the differences among One Trip, Cargo Worthy and Wind and Water Tight containers.
Related Container Ideas
Plan the Container and Delivery
Confirm zoning, permits, foundation requirements, utilities and professional design needs before purchasing or modifying a container. When you are ready to discuss size, condition, quantity, delivery location and timing, request a quote from Conex Xpress.
Before delivery day, verify the route from the road to the placement area, including gates, turns, slopes, overhead lines and tree limbs. The final location should be accessible, level and prepared for drainage. Sharing photos and accurate measurements early helps the delivery team evaluate placement without relying on assumptions.