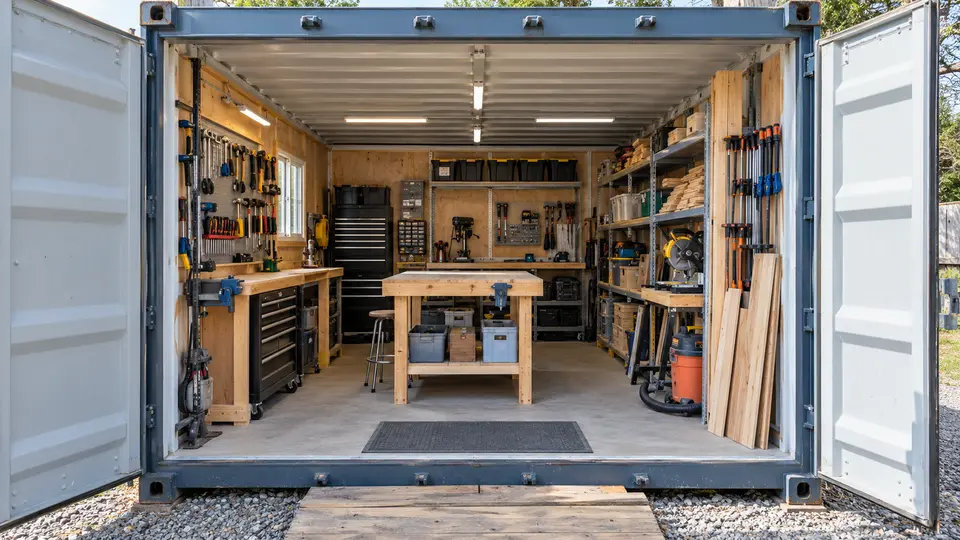
A shipping container workshop can put tools, projects and equipment in one secure location without taking over a garage. The long interior naturally supports benches and wall storage, but it can also become cramped if every surface is filled without a workflow plan.
Start with the work being performed. Woodworking, equipment repair, crafts and general property maintenance create different electrical, ventilation, fire-safety and storage needs.
Lay Out the Work Sequence
Arrange receiving, material storage, cutting or assembly and finished-project storage in a logical order. Frequently used tools should sit near the primary bench, while seasonal or specialty equipment can use higher shelves and the far end of the container.
Keep a clear center aisle and preserve full access to electrical panels, exits and mechanical equipment. Mobile carts can add flexible work surfaces without permanently narrowing the room.
Plan Power, Light and Air
List every stationary and portable tool, including voltage and starting-load requirements, before designing the electrical system. General lighting should be supplemented with task lighting that reduces shadows over benches and machines.
Dust, fumes, heat and humidity require different ventilation strategies. A qualified professional should design exhaust and makeup air for the actual work rather than relying on an open cargo door.
Protect Tools and the Structure
Shelving and racks must be secured appropriately and loaded within their ratings. Heavy equipment needs a stable base, and combustible materials should be stored according to applicable safety requirements.
Site drainage, roof runoff and ventilation help protect both tools and the container. Exterior lighting and an organized locking strategy improve security without creating an obstacle during daily use.
Questions to Answer Before You Start
- Which tool has the largest power requirement?
- What work creates dust, fumes or heat?
- How wide must the clear aisle remain?
- Where will long materials and finished projects go?
- Can equipment be moved safely through the doors?
Turn the Concept Into a Site-Specific Plan
Storage and workshop projects still need a site plan. Confirm the base, drainage, door-swing area, delivery route and any required permits before the unit arrives. Electrical work, ramps, shelving and mechanical ventilation should be designed for their actual loads and uses.
Create an inventory and scaled layout before filling the container. This protects the central aisle, keeps heavy items in appropriate locations and shows whether a 20-foot or 40-foot unit will support the workflow.
Choose the Container Condition With the End Use in Mind
A Cargo Worthy or Wind and Water Tight container may suit a utilitarian workshop, while a customer-facing or highly finished studio may justify One Trip condition. Compare the actual grade descriptions before buying. Review the Conex Xpress container condition guide for the differences among One Trip, Cargo Worthy and Wind and Water Tight containers.
Related Container Ideas
Plan the Container and Delivery
Confirm zoning, permits, foundation requirements, utilities and professional design needs before purchasing or modifying a container. When you are ready to discuss size, condition, quantity, delivery location and timing, request a quote from Conex Xpress.
Before delivery day, verify the route from the road to the placement area, including gates, turns, slopes, overhead lines and tree limbs. The final location should be accessible, level and prepared for drainage. Sharing photos and accurate measurements early helps the delivery team evaluate placement without relying on assumptions.